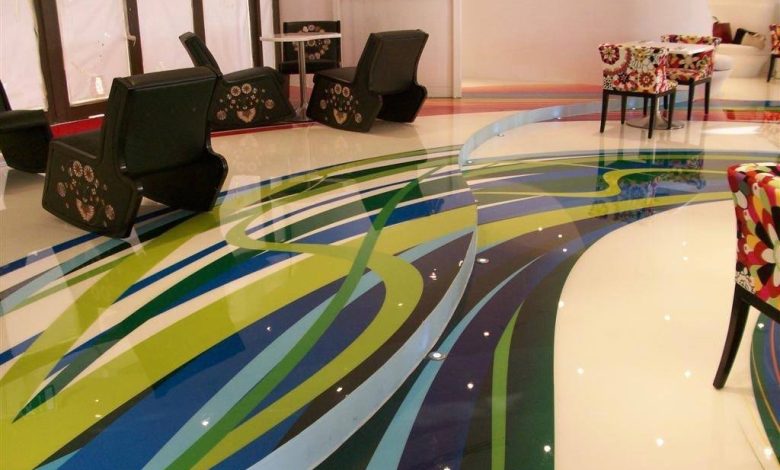
Welcome to the world of epoxy floors, where functionality meets aesthetics, and your space gets a stunning makeover. If you’re looking to enhance the beauty of your floors while ensuring durability, you’re in the right place. This step-by-step installation guide will walk you through the process, providing expert insights and tips to achieve stunning epoxy floors that stand the test of time.
Getting Started
Epoxy floors are a fantastic choice for homeowners and businesses alike. They are not only visually appealing but also incredibly resilient. Before we dive into the step-by-step process, let’s gather all the necessary materials and information to ensure a successful installation:
Materials You’ll Need
- Epoxy resin and hardener
- Primer
- Paint roller with an extension pole
- Epoxy paint chips (optional)
- Squeegee
- Safety gear (gloves, goggles, and a mask)
- Concrete cleaner and etching solution
- Bucket and mop
Pre-Installation Preparations
Before we start applying epoxy to your floors, it’s crucial to prepare the surface adequately. Here’s what you need to do:
- Clean the Surface: Thoroughly clean the concrete surface to remove dust, dirt, and any contaminants. Use a concrete cleaner and a mop for this task.
- Etch the Surface: Etching is essential for creating a suitable surface for epoxy adhesion. Apply the etching solution and scrub the floor using a stiff brush. Rinse thoroughly.
- Patch Any Cracks: Inspect the floor for cracks and repair them using an appropriate filler. Allow it to dry completely.
Applying the Primer
The primer is a crucial step in ensuring proper adhesion and a long-lasting epoxy finish. Here’s how to do it:
- Mix the Primer: Follow the manufacturer’s instructions to mix the epoxy primer.
- Apply the Primer: Using a paint roller with an extension pole, apply the primer evenly on the floor. Allow it to dry according to the product’s guidelines.
Time to Epoxy
Now, let’s move on to the exciting part – applying the epoxy coating to your floors:
- Mix the Epoxy: Combine the epoxy resin and hardener as per the instructions provided. Ensure thorough mixing for a consistent finish.
- Apply the Epoxy: Start by cutting in around the edges of the room using a paintbrush. Then, use a paint roller to apply the epoxy evenly. For added texture and depth, you can broadcast epoxy paint chips onto the wet surface.
- Spread the Epoxy: Use a squeegee to spread the epoxy evenly across the floor’s surface. Ensure a uniform coat, and avoid puddles.
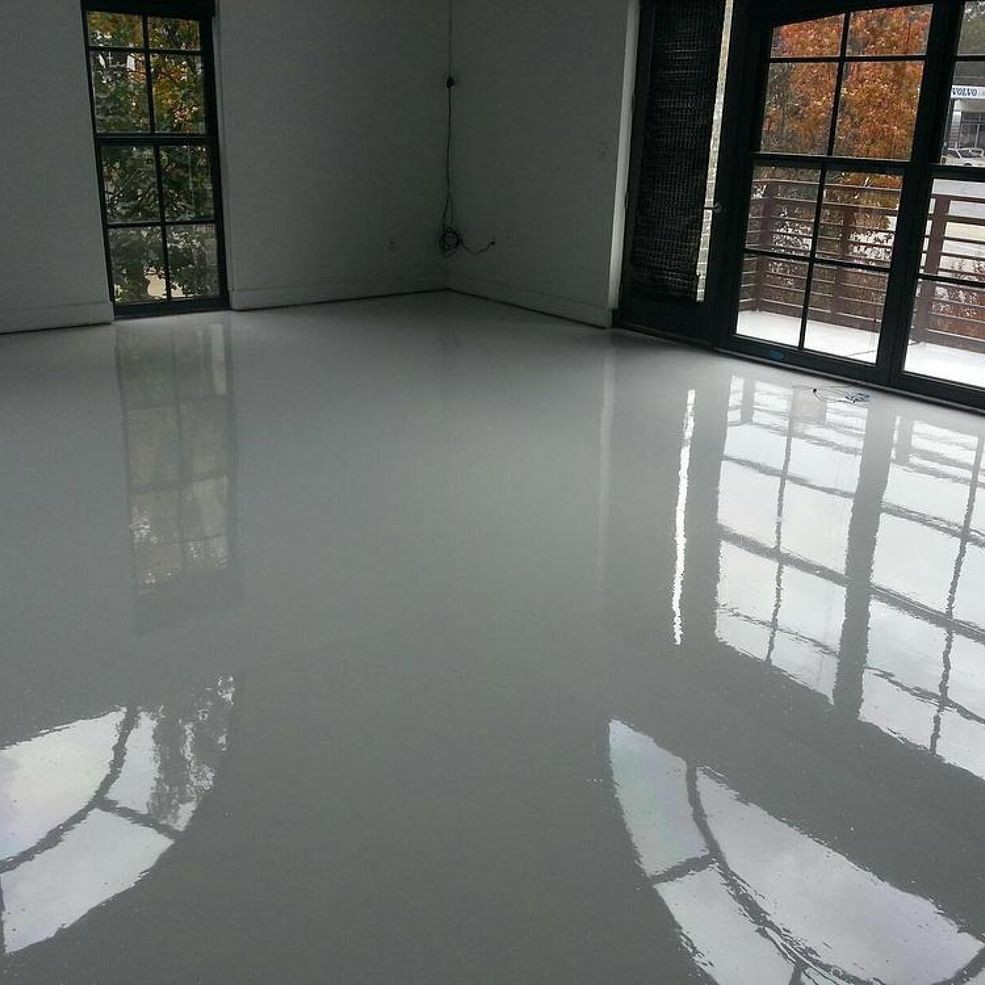
Drying and Curing
After applying the epoxy, it’s essential to allow sufficient time for drying and curing:
- Drying Time: Typically, epoxy takes 24-72 hours to dry. Ensure the area is well-ventilated during this period.
- Curing Time: Epoxy floors require about seven days to cure fully. Avoid placing heavy objects or walking on the surface during this time.
Maintenance and Longevity
Congratulations, your stunning epoxy floors are now complete! To ensure they maintain their beauty and durability, here are some maintenance tips:
- Regular Cleaning: Sweep or vacuum the floor regularly to remove debris and dirt.
- Avoid Harsh Chemicals: Use mild cleaners to maintain the epoxy’s shine. Harsh chemicals can damage the finish.
- Protect Against Scratches: Place furniture pads under heavy objects to prevent scratching the epoxy surface.
FAQs
Q: Can I install epoxy floors over existing flooring?
A: Yes, epoxy can be applied over various existing flooring types, including concrete, wood, and tile, as long as the surface is properly prepared.
Q: Are epoxy floors suitable for high-traffic areas?
A: Absolutely! Epoxy floors are known for their durability, making them an excellent choice for high-traffic areas like garages and commercial spaces.
Q: Can I apply epoxy to outdoor surfaces?
A: Epoxy is primarily designed for indoor use. While it can be applied to outdoor surfaces, it may require additional UV-resistant coatings for longevity.
Q: How do I clean epoxy floors?
A: Cleaning epoxy floors is easy – simply sweep or vacuum to remove debris and mop with a mild detergent and water solution.
Q: Can I customize the color of my epoxy floor?
A: Yes, you can choose from a wide range of epoxy colors to match your preferences and style.
Q: Are epoxy floors slippery?
A: Epoxy floors can be slippery when wet. To enhance slip resistance, you can add anti-slip additives to the epoxy coating.
Conclusion
Transforming your space with stunning epoxy floors is a rewarding project that adds both beauty and functionality to your environment. By following this step-by-step installation guide and taking proper care of your epoxy floors, you’ll enjoy their benefits for years to come. Get ready to step onto floors that are not only stunning but also built to last.